Learn How to Create Automatic Meetings
We are all tired of exchanging emails back and forth, trying to pick a meeting time, only to have your calendar booked by something else and thus the cycle continues. Microsoft Bookings is now available to all Enterprise licenses. In this blog post, I am going to show you how to create your own personal bookings page for online meetings, that will check your availability, book during designated office hours, and automatically create teams meeting for you. While Microsoft Bookings’ target audience was not originally for online meetings, the work culture has evolved enough that this now makes sense as an option for users. Microsoft Bookings integrates seamlessly with your Microsoft 365 calendar, and is also available as an app within Microsoft Teams.
Create a Microsoft Bookings Calendar
1. Navigate to Microsoft Bookings – https://outlook.office.com/bookings
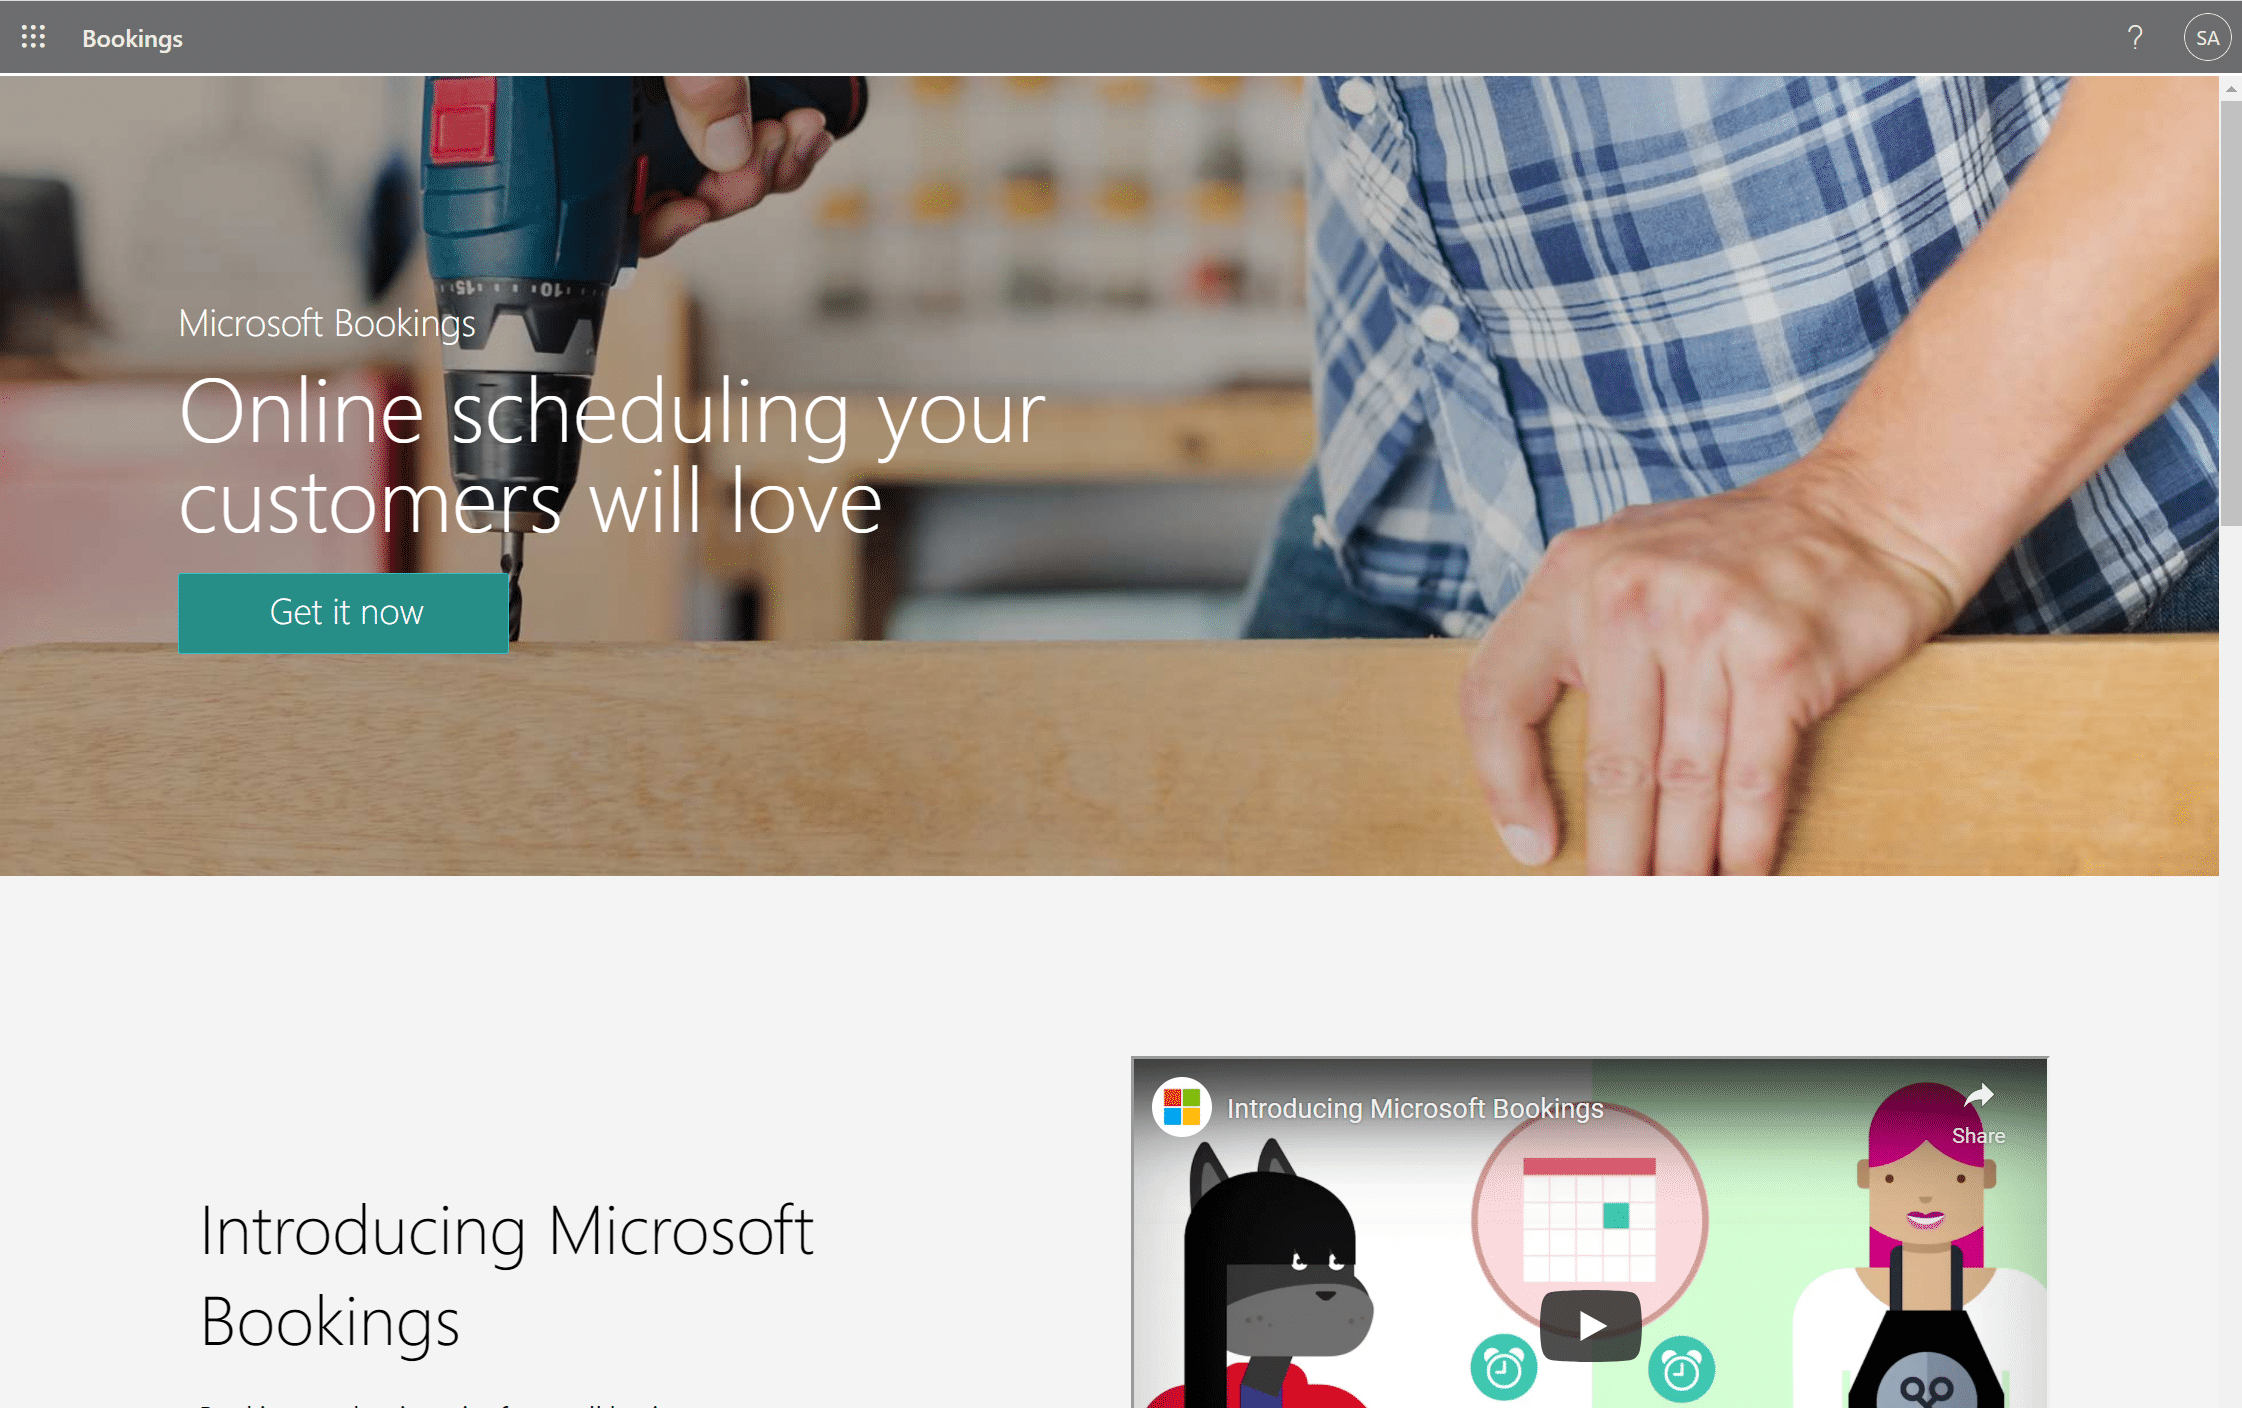
2. Select ‘Get it now’
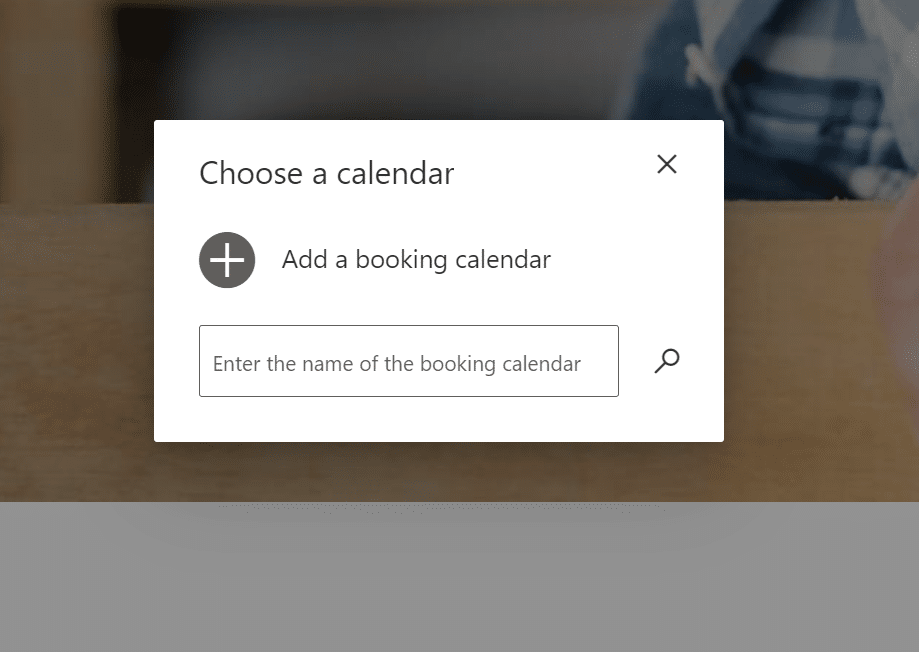
3. Select ‘+ Add a Booking Calendar’
4. Fill in Business Name – I named mine “Michelle’s Calendar” since I will only be adding meetings to my calendar, but if you’re looking to expand to the entire organization that is possible as well.
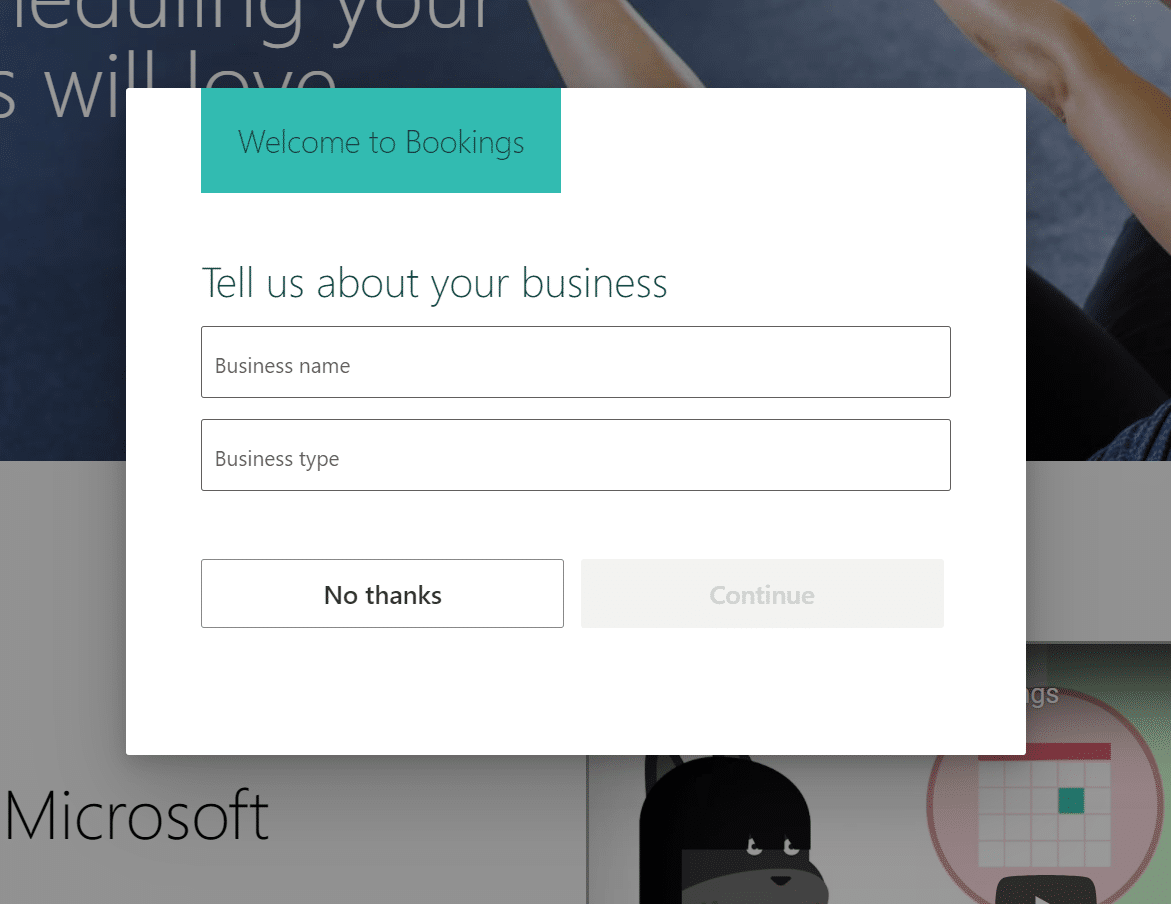
5. Click Continue
Setup Microsoft Bookings Preferences
Once on the Bookings Page – Toggle ‘Try the new Bookings’ on the top right of the screen
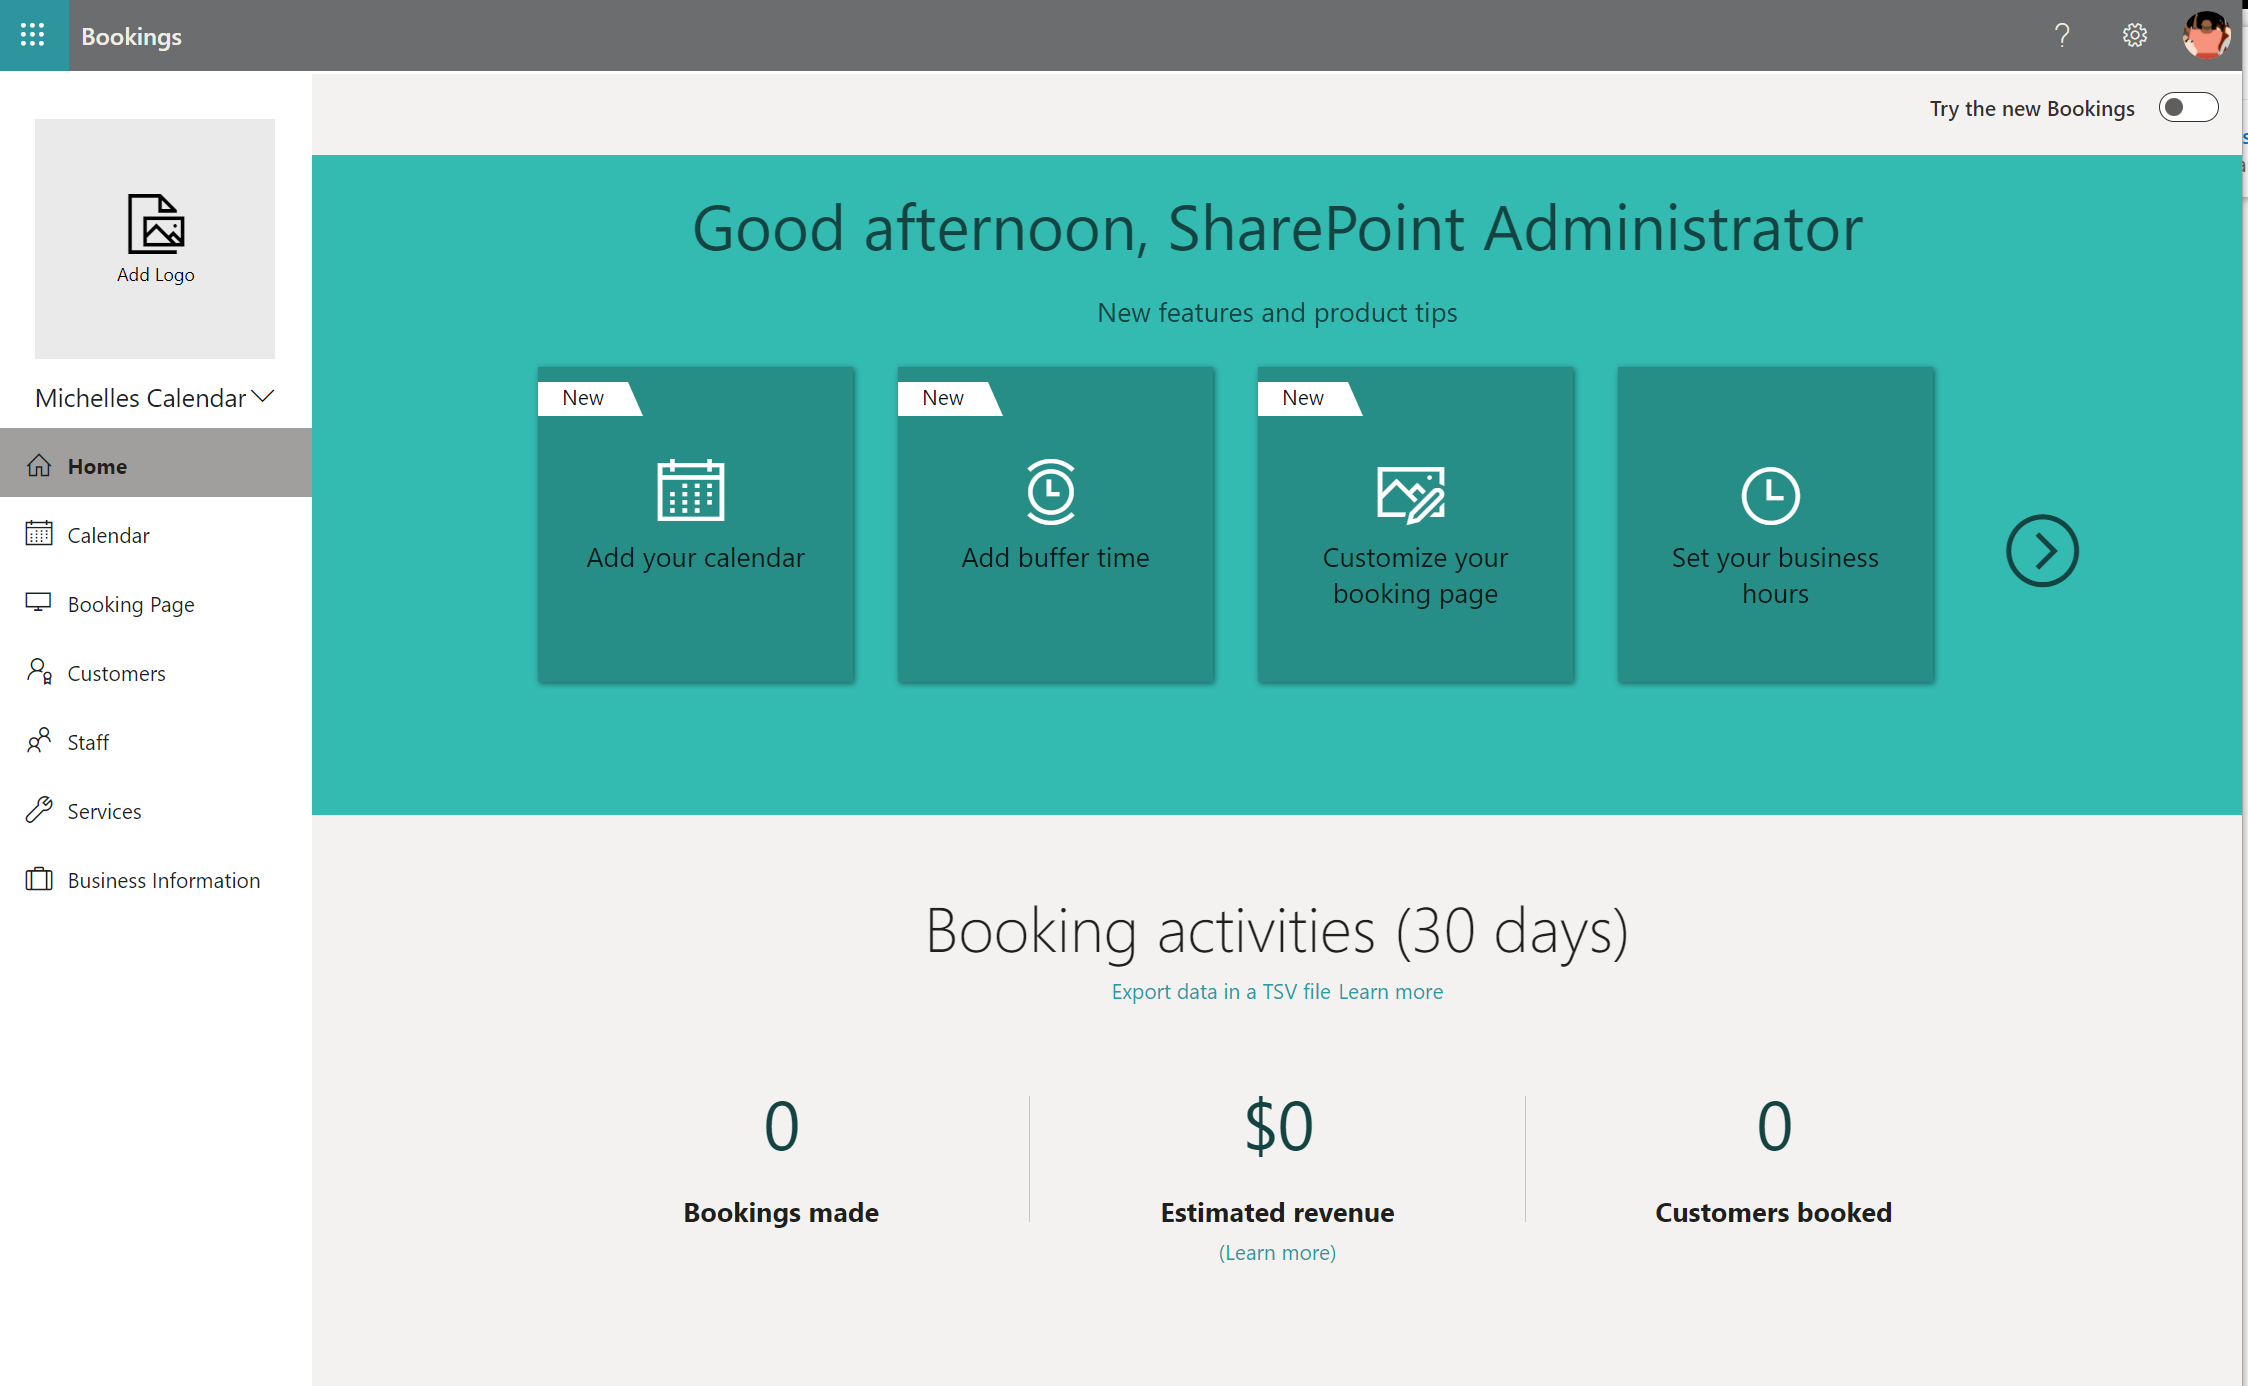
The screen should now look like this:
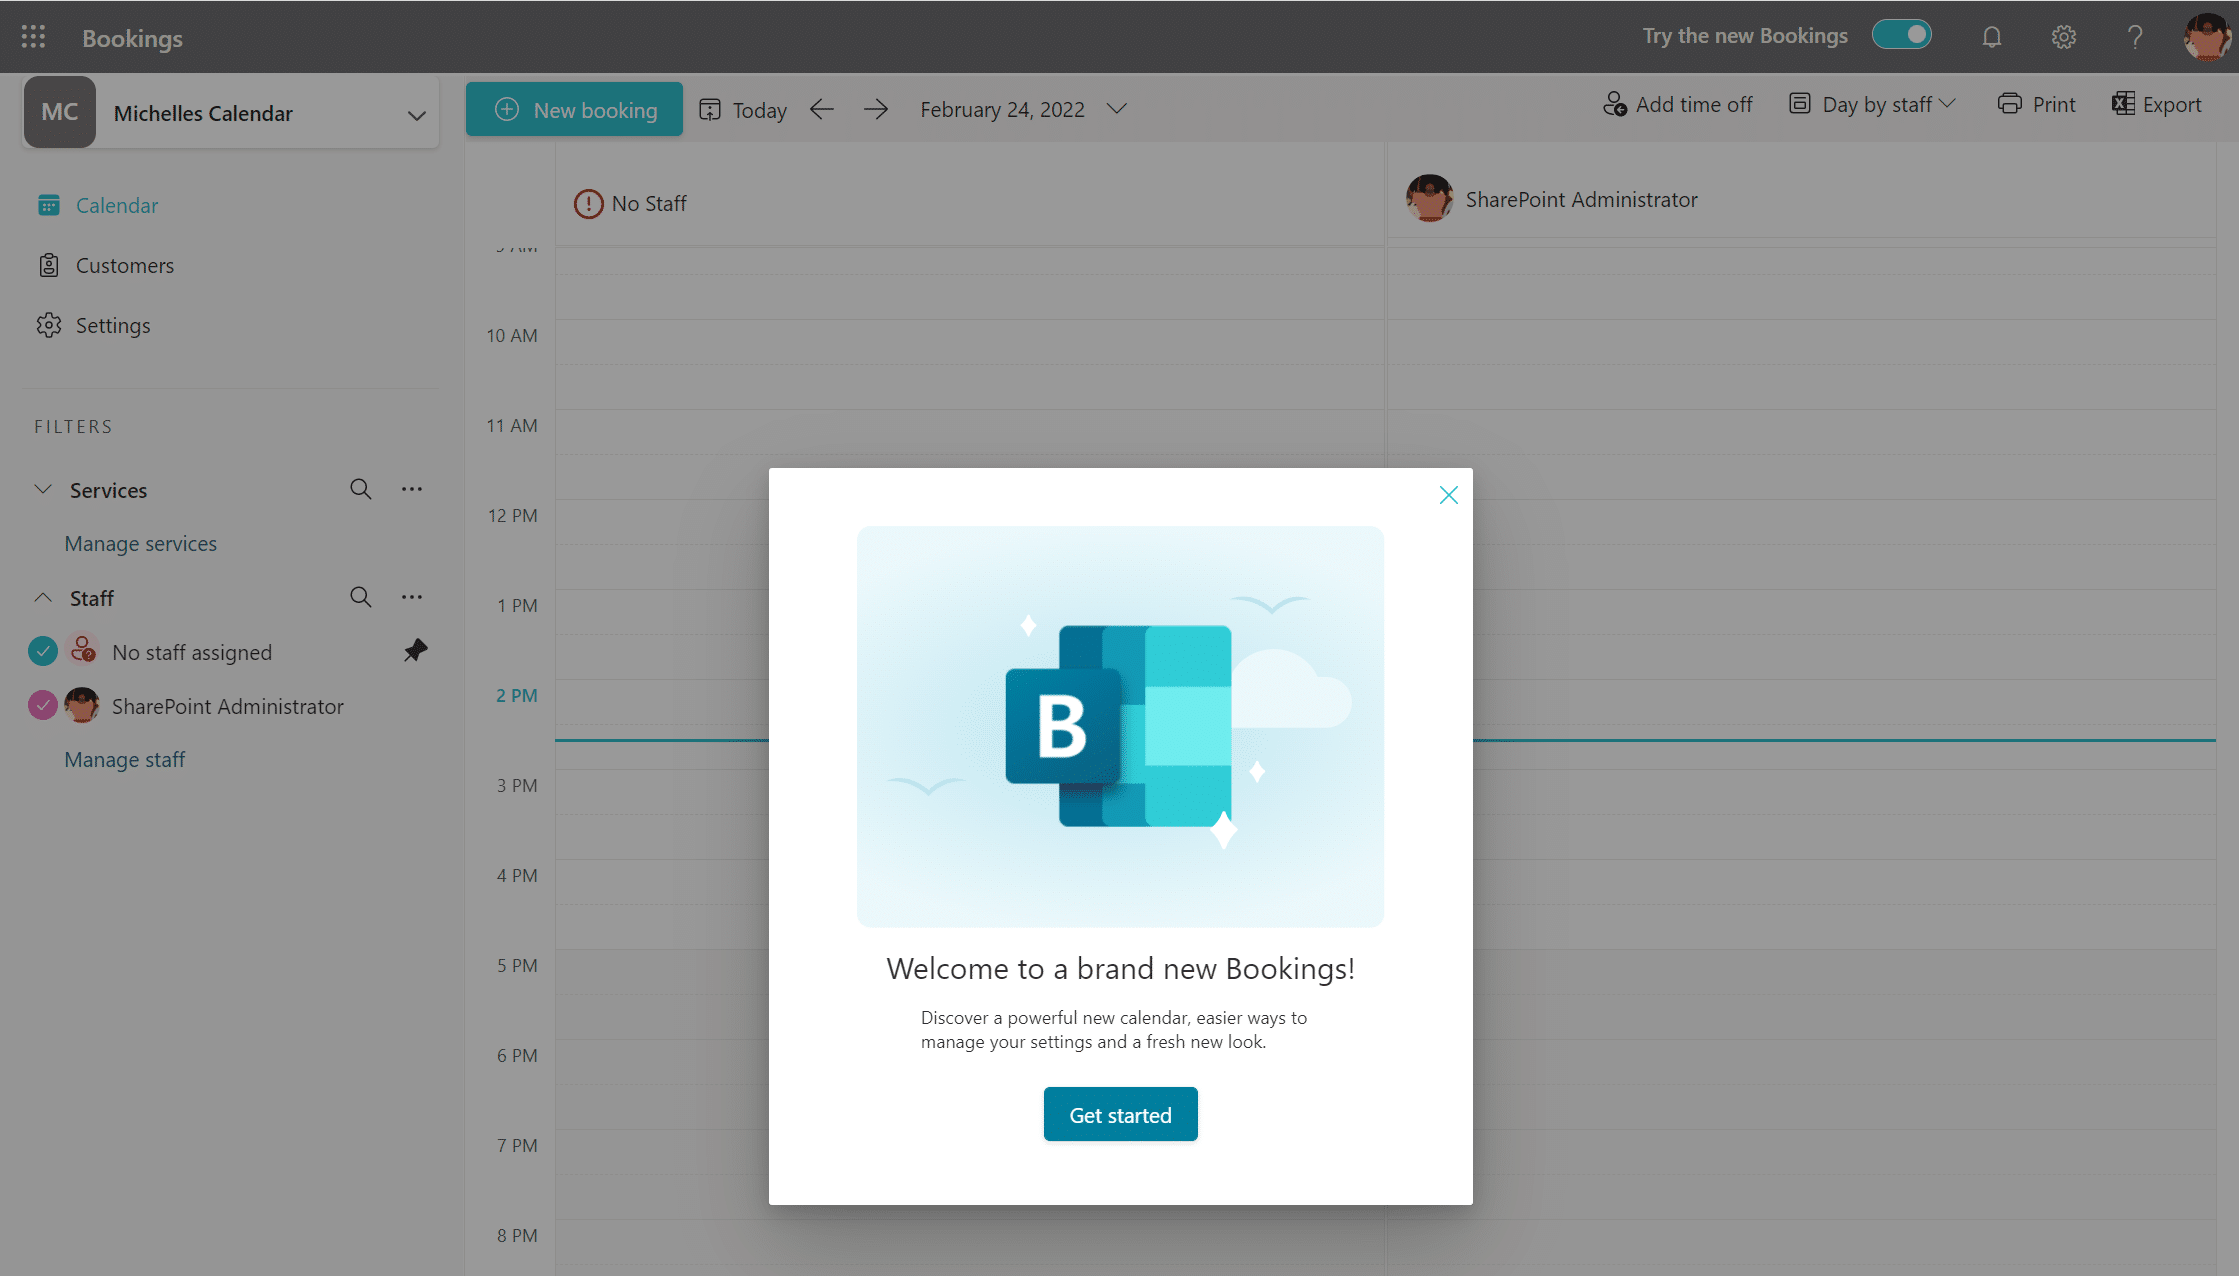
The first thing I set up is the calendar settings.
Business Information
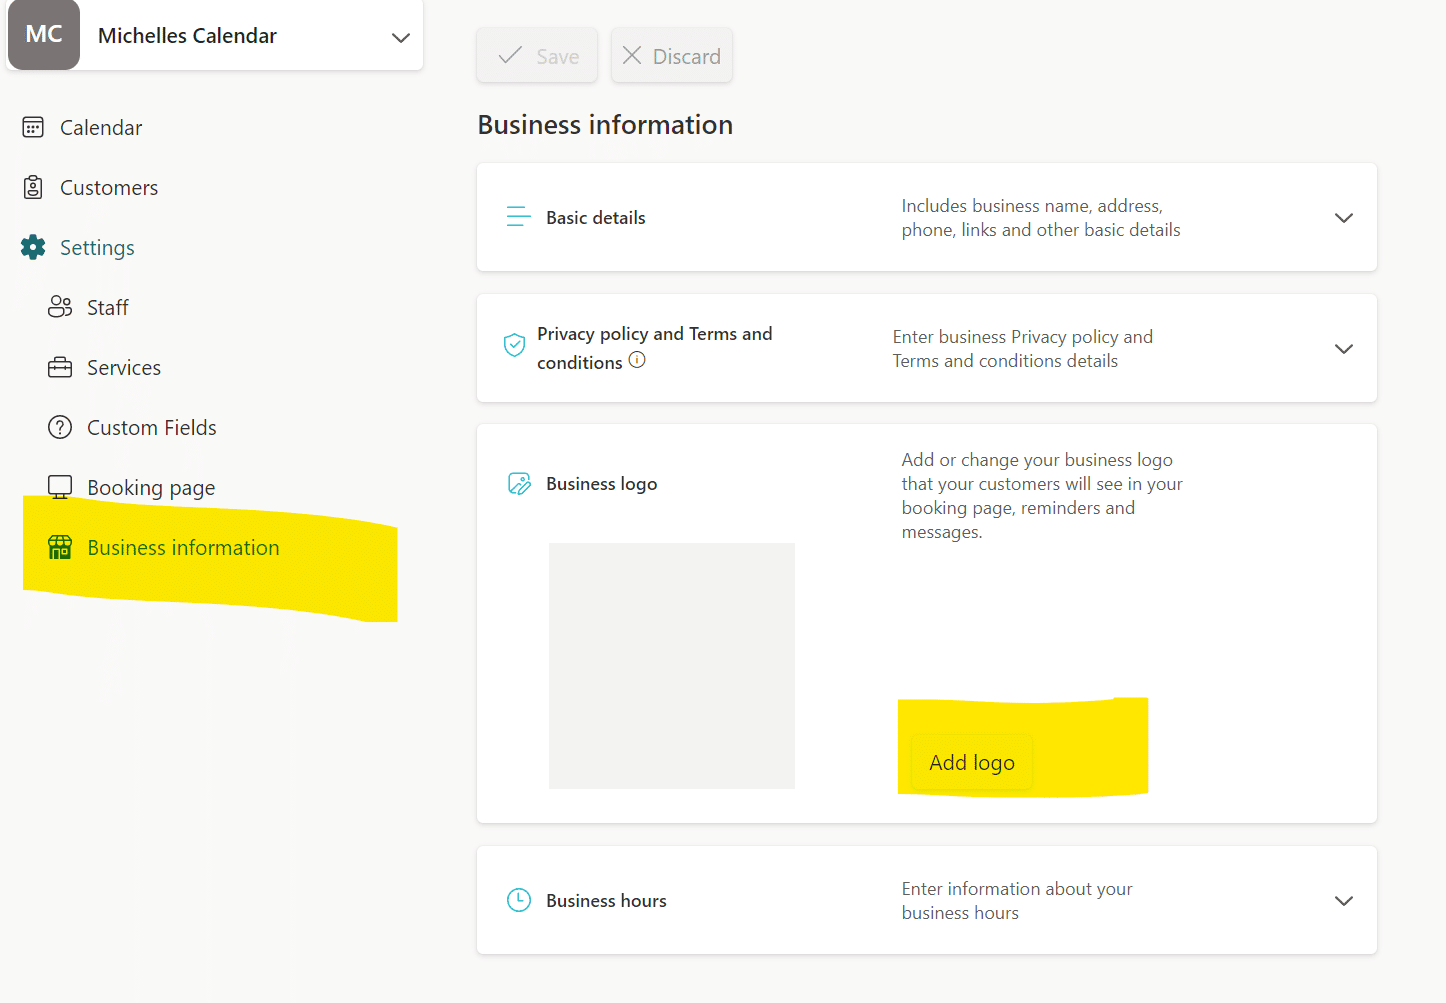
Add your logo
- Select ‘⚙ Settings ‘ on the left menu
- Select ‘Business Information’ from the left menu
- Click the logo option
- Select any photo you like.
While adding a logo or photo is optional, I choose to use my own photo vs my company logo, since the invite is again only my calendar. I just think it creates a more polished look and there is no doubt when booking a meeting that it’s with me.
Set Business Hours
By default, the business hours are M-F 8:00 AM – 5:00 PM, so if this is your schedule then great, if not make changes to the schedule and save.
Booking Page
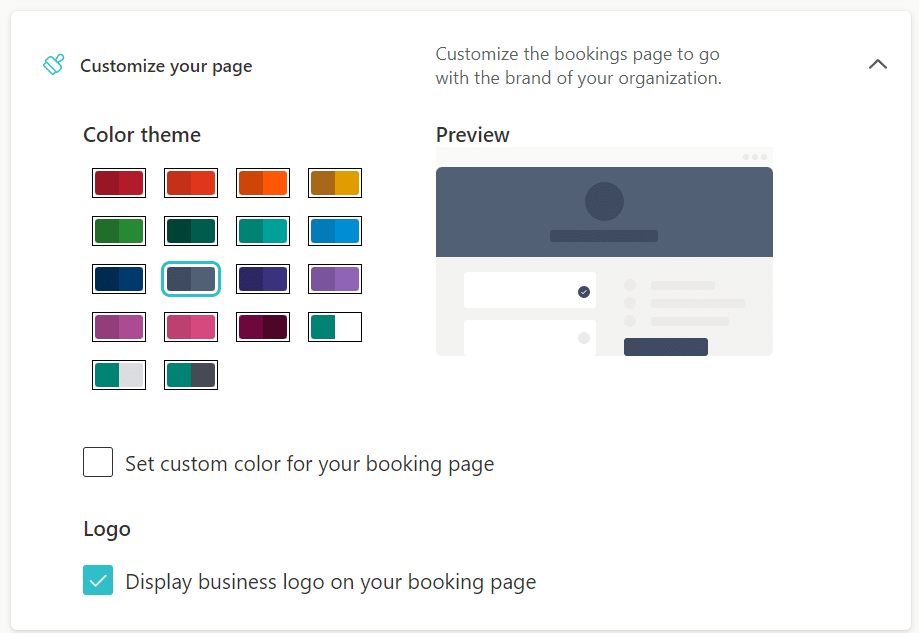
Set a Theme
Choose your color scheme, I don’t know about you but I want it to match my company’s colors. You can even set custom colors if you want. I choose a blue similar to Klarinet blue. Also if you prefer to not show your logo you can make this choice here.
Scheduling policies
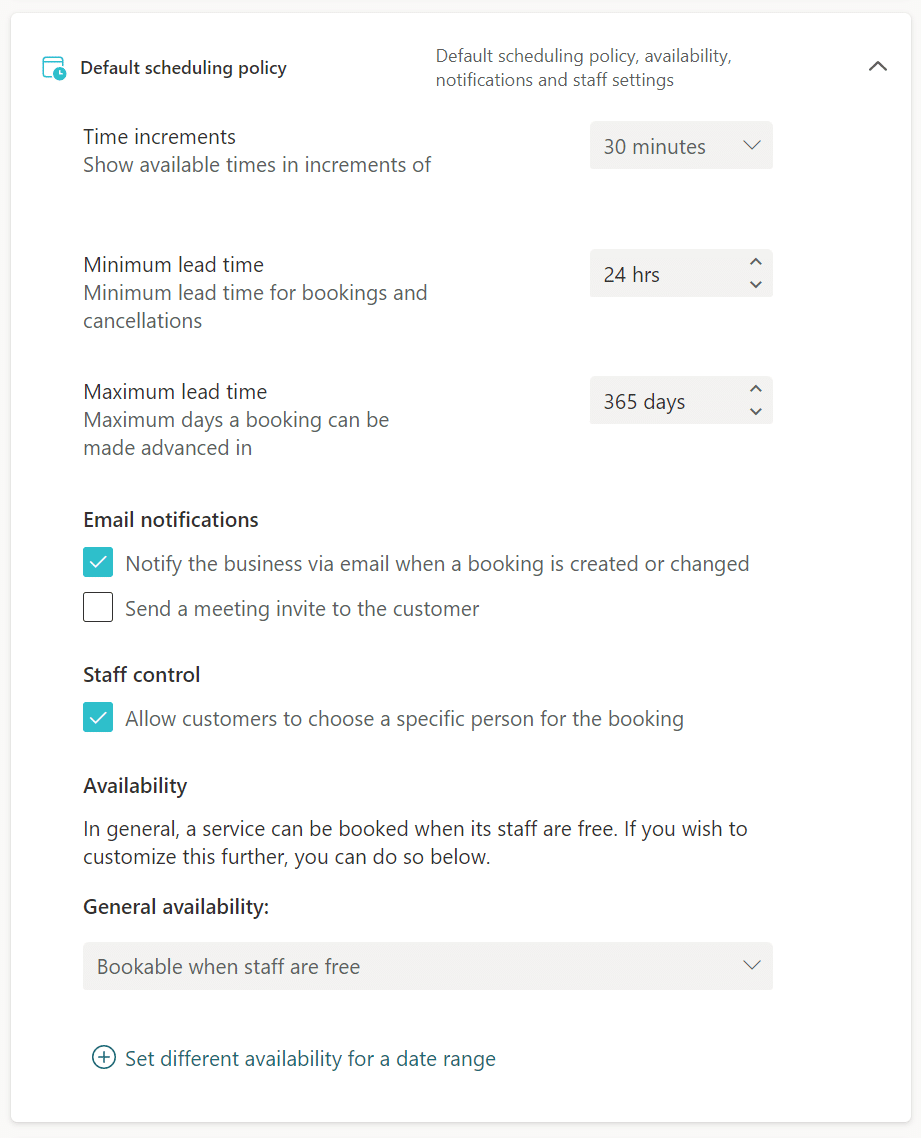
1. Set Lead Time, how soon can your next meeting be when booking, by default it’s set to 24 hours’ notice.
I set mine to have a 3-hour lead time, this way I can have same-day meetings while still giving myself a bit of notice to prepare.
2. Set a maximum lead time, how far out do you want your calendar available? The default maximum lead is set to 365 days out.
I limit mine to 90 days to reduce meetings happening to far in advance and me forgetting about them.
3. Set time increments, at what times can your meetings be booked? On the hour, on the half-hour, every 15 minutes?
I left it at 30 minutes, but you may only want meetings booked on the hour and you can make that preference here, this also should take into account the services you are going to add, if you have several 15-minute meetings then you may want to take that into account.
Create Services
1. Select services on the left menu
2. Click + Add a Service on the top menu
3. Add a service name, if you are using these for online meetings keep in mind these titles will be what appears on your calendar with the name of the person booking.
Example: Support Call – Michelle Willard
4. The description is self-explanatory, but this is visible to your customer so I recommend adding a description as needed.
Set Meeting Location
You can use this if you have a physical location for an on-site appointment, for me, I am going to toggle on the option to set an online meeting.
Set Meeting Duration
Duration has to be set for how long you would like the time booked on your calendar, this will be visible to your customers so no need to add it to the title description.
If you want to have multiple time options to book you will need to create a separate service with each option.
You can even ask for a booking to allow buffer time if you’re not a fan of back-to-back meetings.
Maximum attendees is a weird one, I noticed that it doesn’t make a difference if you leave it at 1, users can forward the invite with no problem. I did notice that custom properties didn’t always come through on the invite in my calendar when I messed with this, so for that reason, I recommend leaving it at 1.
Capture Customer Information and Create custom fields
When you create a service it by default asks for some information, Name, phone, and notes. I wanted to customize this option for my meeting to allow my customers to include some more information. To do this Select Modify under custom fields.
Click add a question
Once you have created your questions click all the fields you want to be displayed, make sure they are highlighted in the grey boxes, and click ok.
Scheduling policies
Scheduling policies can be unique for different services, if you only want support calls to override the scheduling policy you set earlier you can do that here.
Time to Share your Bookings page
To get the sharing URL,
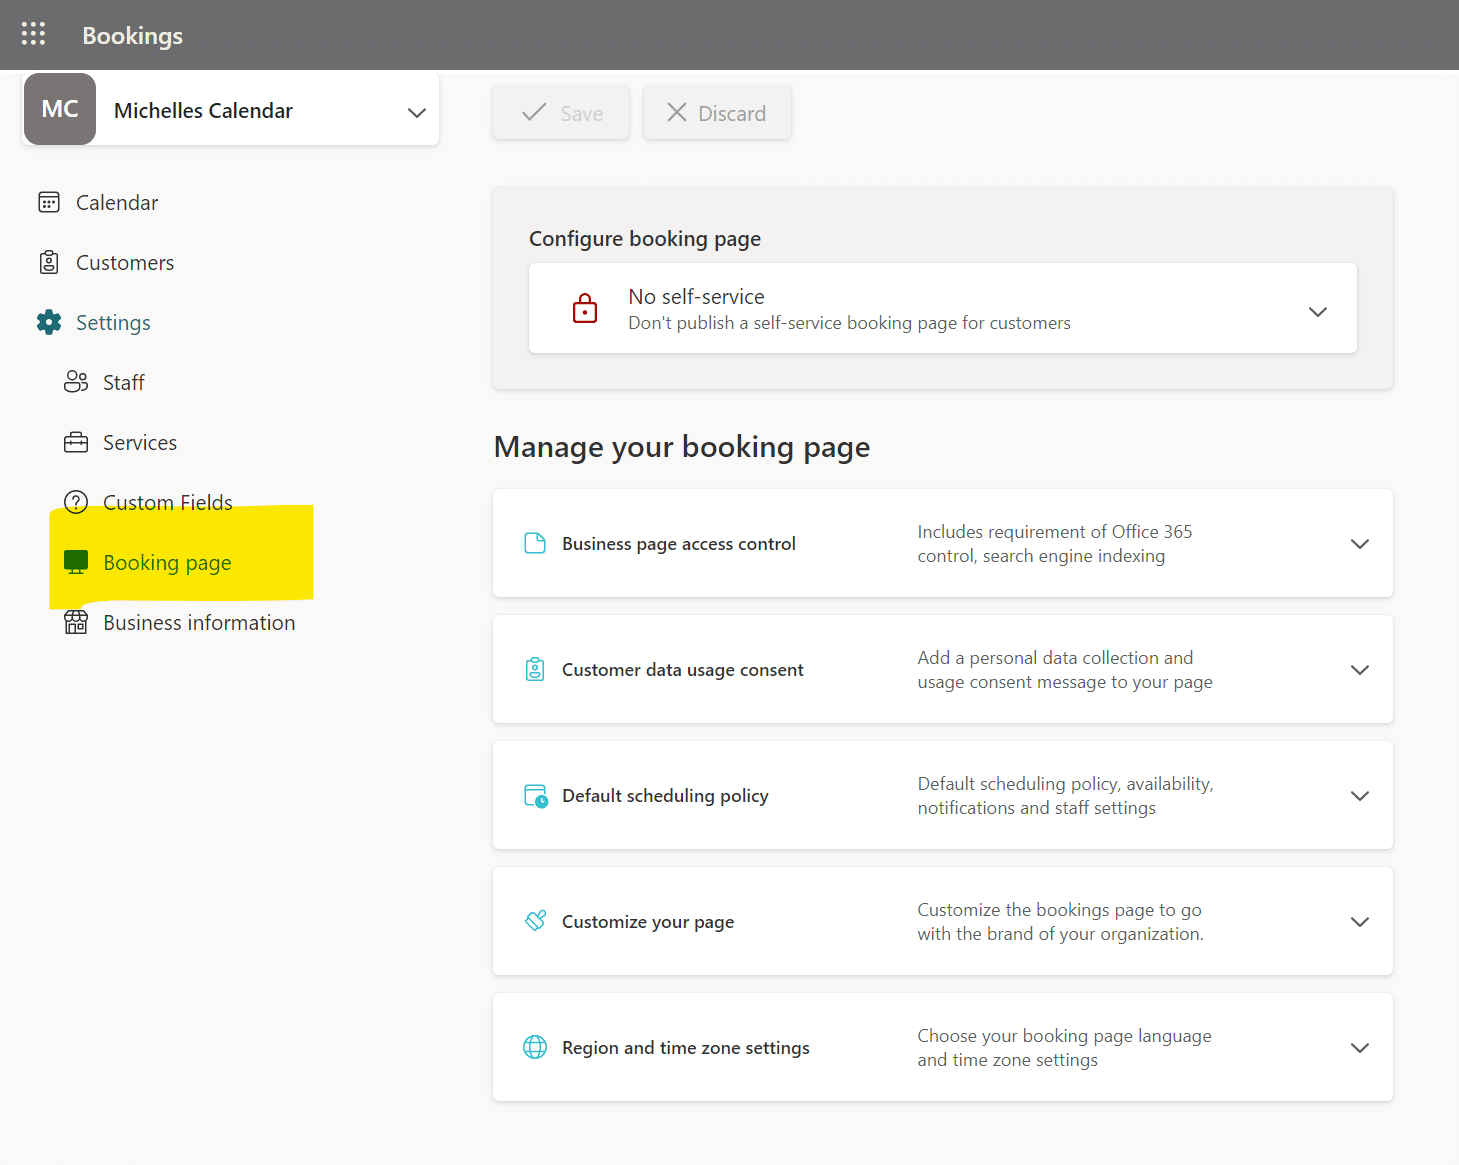
Navigate to the booking page option on the left
Copy the sharing link
And BOOM! you’re done! You’re now ready to share this link and have folks book meetings without any conflicts.
Pro Tip* Create an Outlook signature that includes your booking link to make it easier to share when needed. I even added an icon to call it out.
Try it out for yourself! Follow the above steps and test it with a friend or co-worker.
Get in Touch with Klarinet Solutions for Guidance with Microsoft 365 Apps
Organizations often get overwhelmed with all of Microsoft 365’s different features and applications, which is why the digital workplace experts at Klarinet are here to help! If you’d like to learn more about how Microsoft 365 can work for you, get in touch today!
